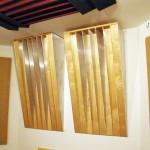
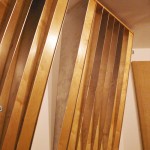
In addition to offering the Acoustic Ramp diffuser as our flagship diffusion product, we are now offering BBC-style 2D Diffusers. At $299 each or 4 for $999, these Tiny Cities are a tremendous value.
Category: Products
We just finished build a set of 12 custom 2D diffusers for a client in the Pacific Northwest based on the awesome BBC article. When they are all laid out they look amazing and they sound great too! The diffuser frequencies from around 1Khz and above and can be special ordered for $299 a piece or 4/$1000. They are 4″ deep and 18″ x 18″ square with a grid of 144 blocks and wells.
 Tape Op’s own Gear Geek, Andy Hong, has written an extremely positive review about his experiences with the Acoustic Ramps in his control room. Here are some of the choicest quotes from the review:
To put it succinctly, I was blown away by how much improvement I heard.
I heard immediate improvement in stereo imaging…and the sweet spot widened significantly, allowing me to lean over farther to reach for various processors without the soundstage collapsing
In this configuration, the room opened up dramatically, and I suddenly felt like the accuracy of my room and monitoring system went up several notches. I was quite surprised at the amount of “mud” that had been clouding what I was hearing from the speakers, despite my earlier confidence that there was little more I could do to improve the acoustics of my room without going overboard on absorption. I was also impressed – and puzzled – by the beneficial effects on the low end. In theory, a small, rigid diffuser should have little to no consequence on bass frequencies, but I could hear the lows more clearly, with lesser deviations in response as I moved my head around, searching for the nodal cancellations that exist in greater degree without the Acoustic Ramps.
XIX Acoustics designed and manufactured a set of custom 5′ x 3.75′ projection screens for the conference rooms at J.M. Forbes & Co’s Charles Street Meeting House offices. The screen includes 4″ of 6 lb. fiberglass acoustic absorption to absorb room echoes and reverberation. The building is a historical site in Boston’s Beacon Hill neighborhood.

The following images are custom acoustic treatments that have been designed and assembled at XIX Acoustics.
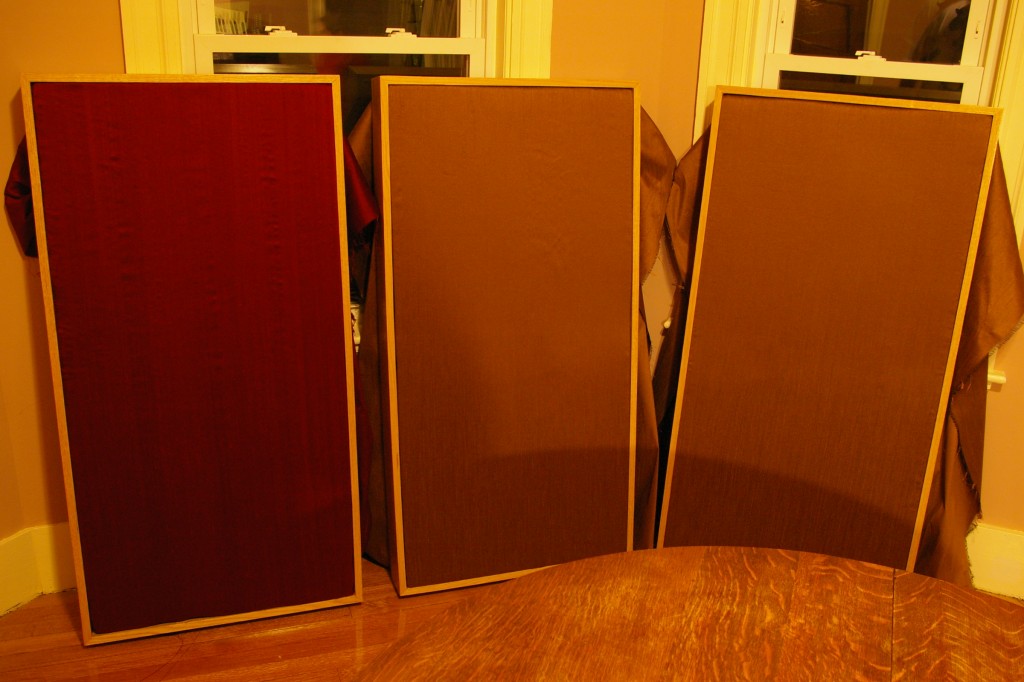
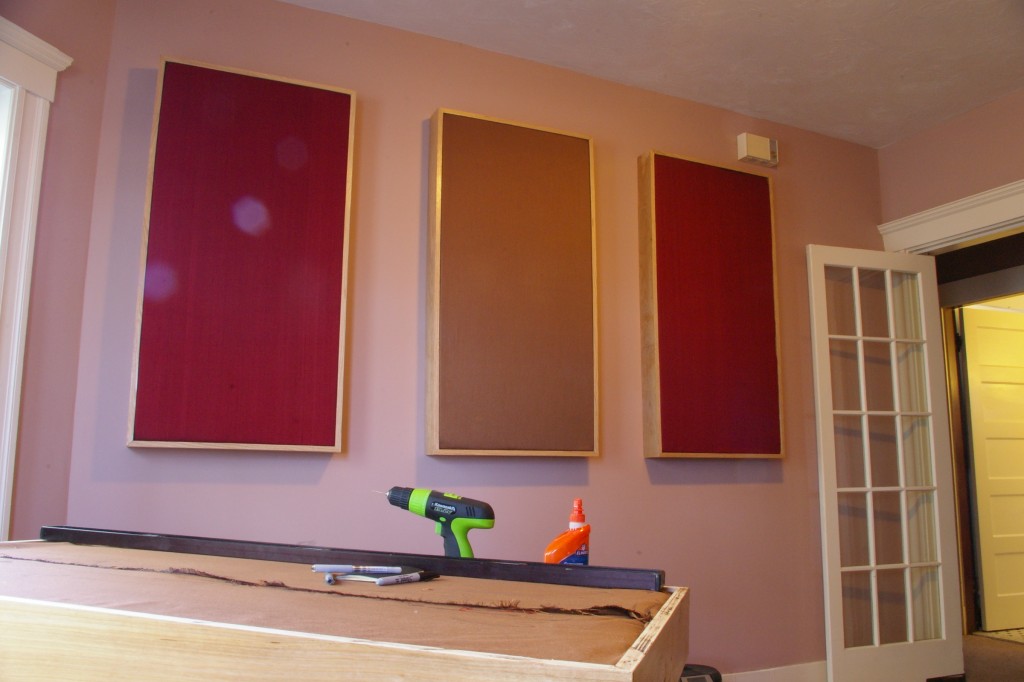
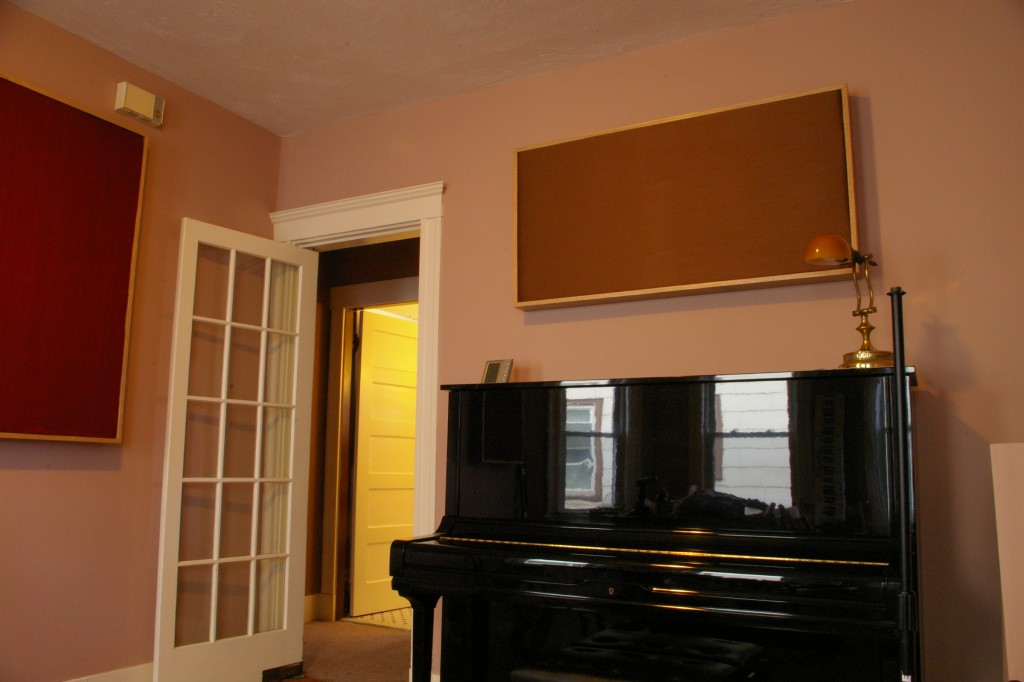

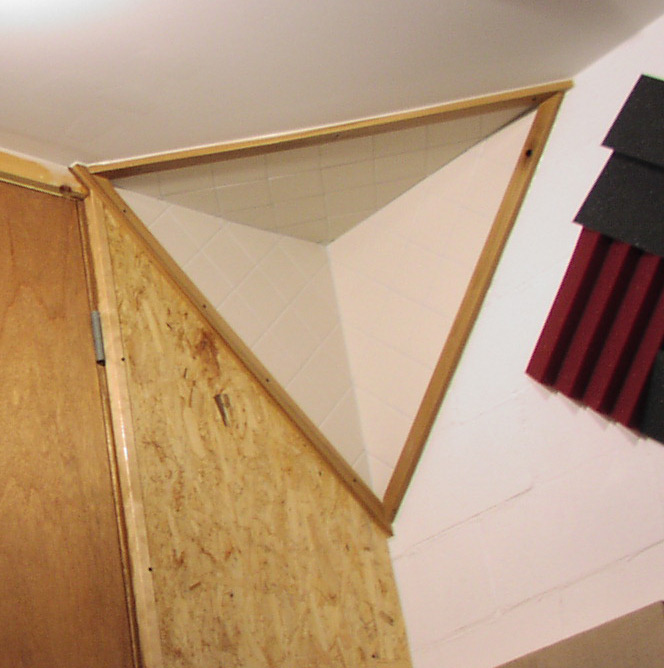
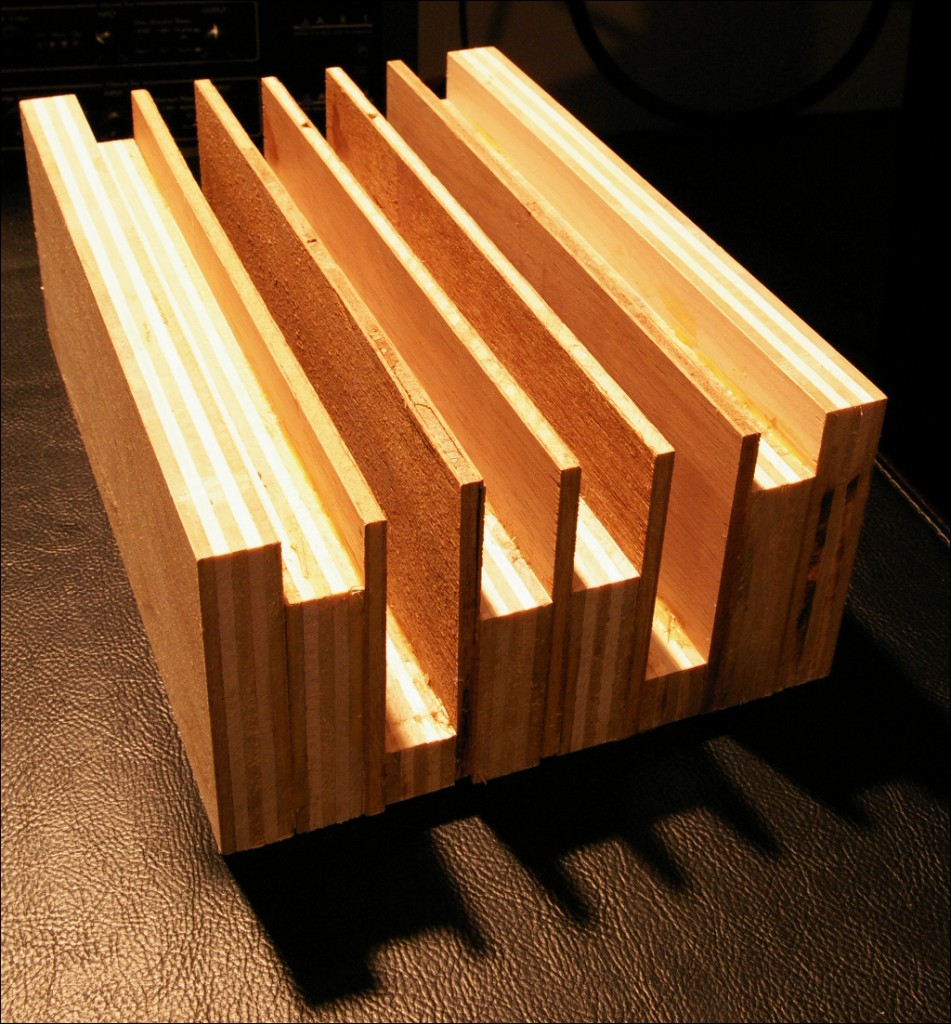
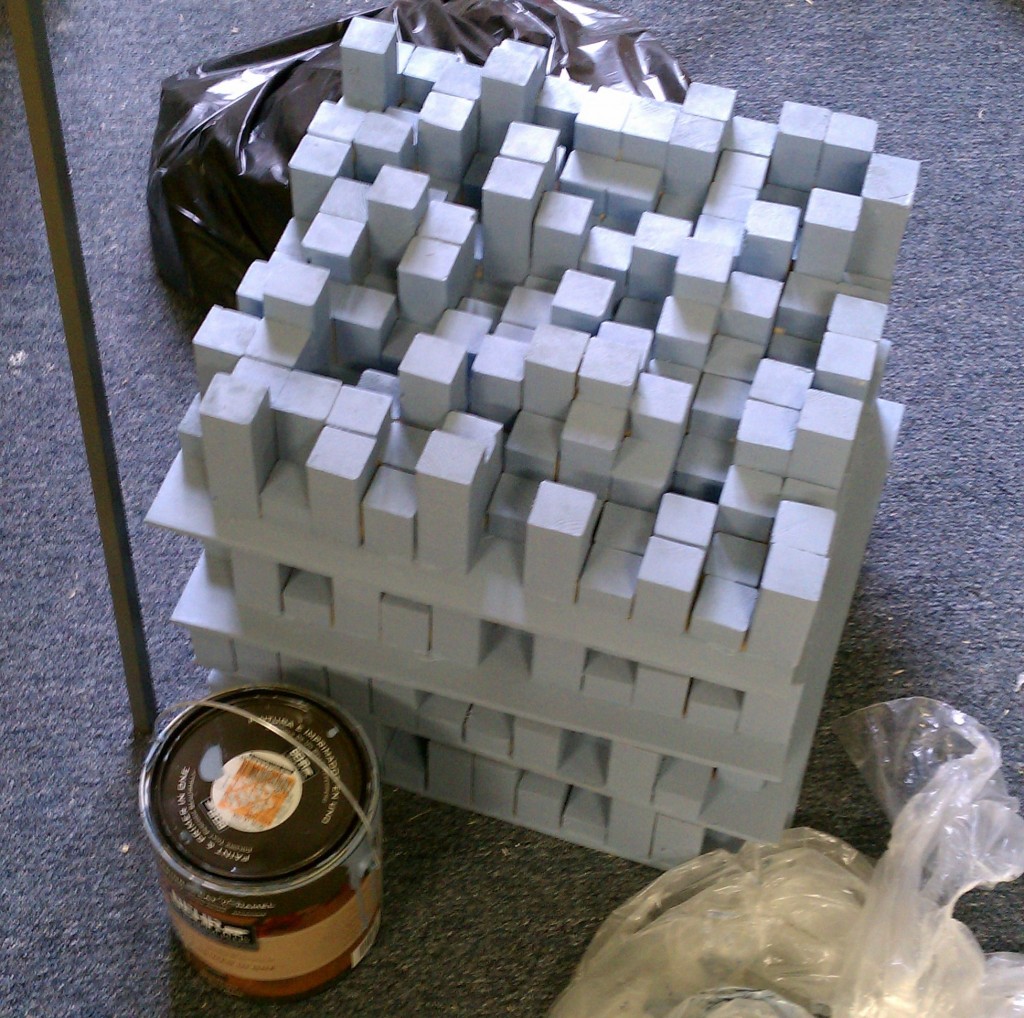
I have been working on adding some new product offerings to the XIX-Acoustics/Acoustic Ramp line. In order to figure out how I could best serve the audio technology and production community I sent out a survey to a bunch of audio pros with at least 2 years of experience and asked them questions about where they do their critical listening, the kinds of acoustic problems they have and the kinds of treatment that they have decided to use.
You can visit the survey page here until the end of the week (06/08/2012)
I got more responses than I expected and even though I only asked 6 questions I learned a lot about where I should direct my attention in my product development. In the next few weeks I will be posting more about the new types of acoustic treatments that I will be developing. This round of work will be centered around reflection and absorption to handle a variety of different problems.
We have recently received a number of questions from people planning to install an array of Acoustic Ramps in their listening rooms. Most people are interested in the differences between the two installation styles: permanent and temporary.
Use the temporary installation if any of the following are true:
- You don’t own the space in which you are installing the Ramps
- You want to be able to use the Ramps in multiple locations like for diffuser gobos (see the Studio 44 photos)
- You don’t want to drill holes in the Ramps
- You want the most flexible installation possible
- You don’t want/need a horizontal installation
Use the permanent installation if:
- You own the space and you want the most rigid and secure installation possible
- You live somewhere where earthquakes are common
- You want to install the Ramps horizontally (see Horizontal installation photos)
The Ramps come with the hardware for temporary installation: a hanging “J” hook and a cross piece that is installed on the rear of the Ramp. This is the easiest type of installation. Essentially you screw the “J” hook to the wall. Then you attach the cross piece to the back of the Ramp and hang the Ramp on the hook. Very simple.
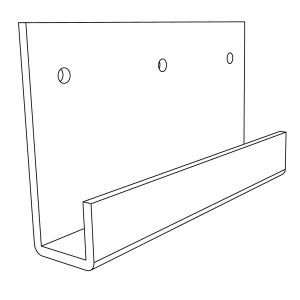
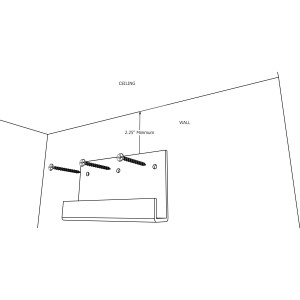
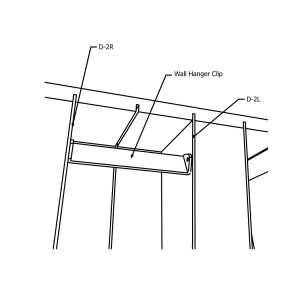
You install the hook on the wall at least 2¼ ” from the ceiling using a level and appropriately strong fasteners (like 3″ drywall screws into studs.) Use a level to make sure the hook is level. Next you install the hanger bracket cross bar to the back of the Ramp. Then simply hang the Ramp on the hook. The Ramp will drop into place and be pressed against the wall.
Here’s a video of a permanent installation.
We now have a way of comparing apples to apples! Using the methods described in AES-4id-2001 (r2007) “Characterisation and measurement of surface scattering uniformity,” we now have a direct comparison of the Acoustic Ramp and RPG’s QRD 734.
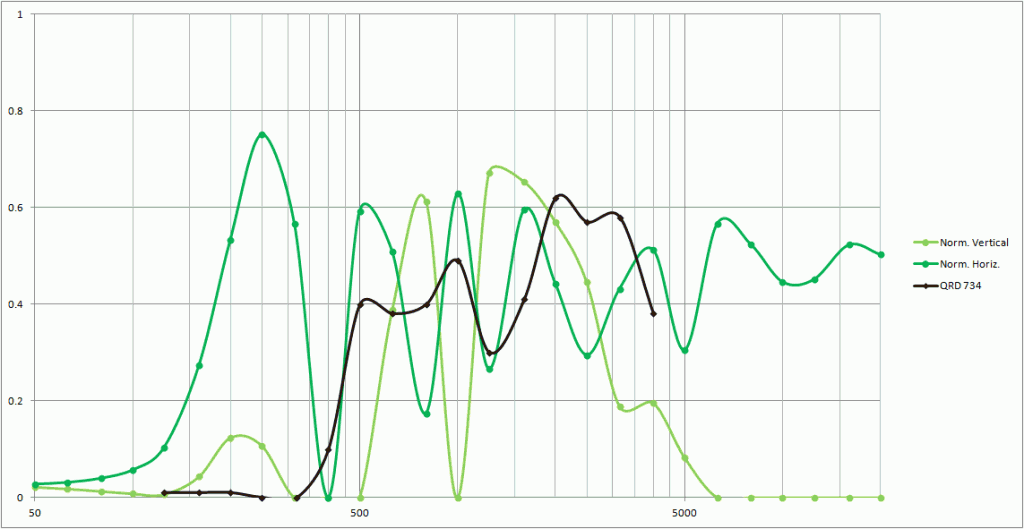
The black line is the QRD 734 and the green lines are the Acoustic Ramp™. Please note that BOTH of the green lines are happening at the same time, so you’re comparing both the green lines to the black line. As you can see the Ramp™ extends the frequency range way above and below the 734.
So we’re actually comparing a super-yummy Ginger Crisp apple to a mealy Red Delicious. Which is which?

